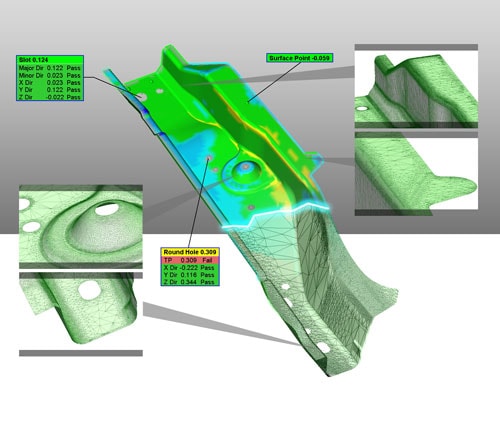
These methods are used to see the differences between produced parts and detect the measurement accuracy of the product. They are the processes mainly applied to see the measurement differences between the design created at the beginning of the project and the final product after mass production.
We provide quality control service on 3D models or 2D technical drawings. The quality report given through 3D data ensures a fast and accurate analysis by providing the opportunity of visual evaluation with color scales and measurement balloons.
We can also prepare quality reports with the company letterheads or logos of our customers upon request.
